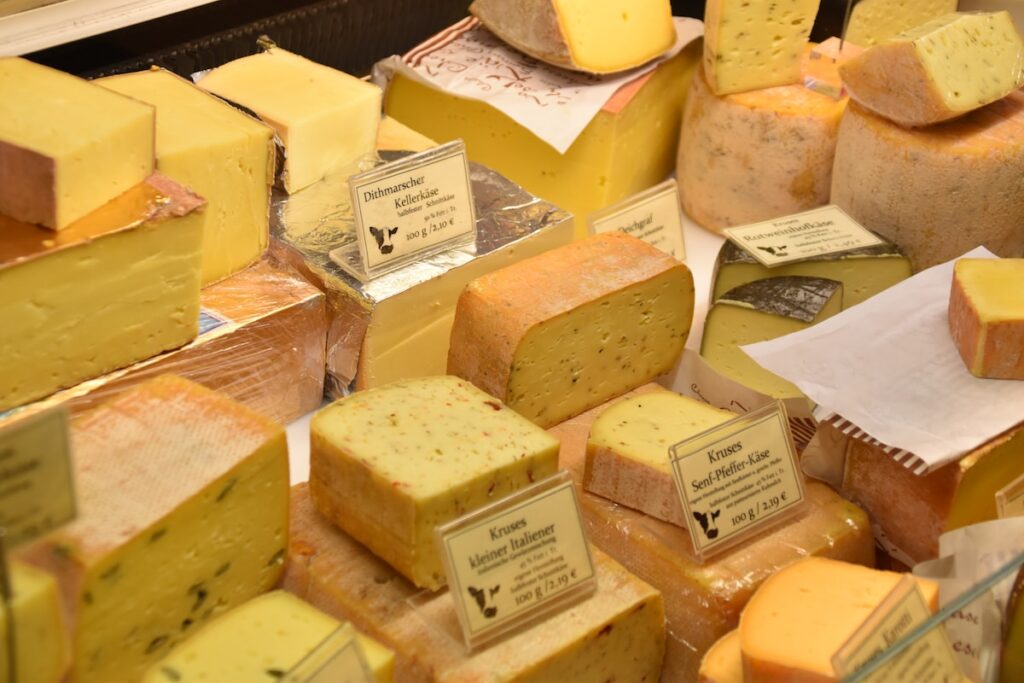
Paneer Recipe: Paneer is a fresh cheese that is a staple in North Indian cuisine. With its mild flavor and soft, spongy texture, it lends itself well to curries, salads, snacks and sweets. Buying readymade paneer can be expensive and lacks the same fresh taste. Read on to learn how to easily craft fresh, creamy paneer at home in seven easy steps.
Why Make Your Own Paneer?
Here are some great reasons to make DIY paneer:
- It’s very easy and requires just 2 ingredients
- Much cheaper than store-bought paneer
- Customize the texture as per your preference
- Tastes infinitely better when freshly made
- Control the quality of milk used
- Makes cooking more rewarding
Even a beginner cook can nail paneer making on the first try with basic ingredients and simple technique. Let’s get started!
Here is Your Paneer Recipe
To make around 250g of paneer, you will need:
- 4 cups full fat milk, preferably organic
- 2 tbsp lemon juice or vinegar
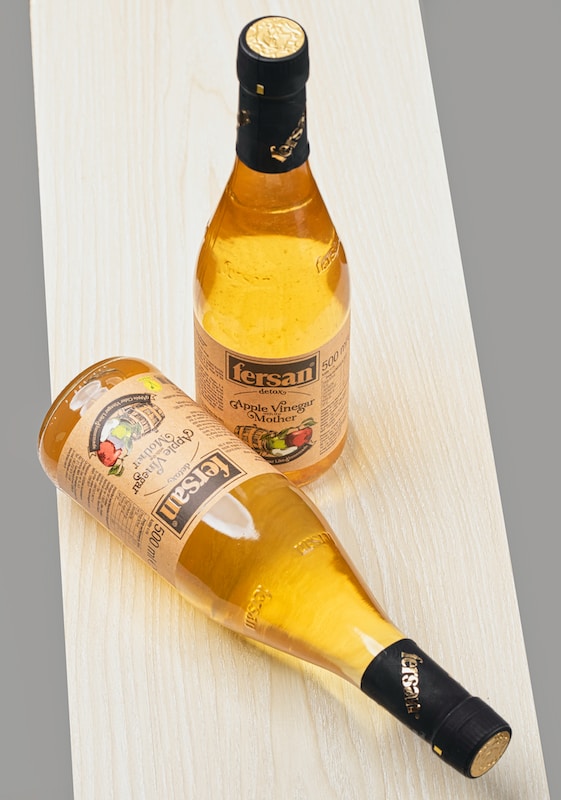
That’s it! Just good quality milk and an acid like lemon juice or vinegar is enough to curdle the milk into paneer.
Step-by-Step Method
Here is a simple 7 step process to make paneer at home:
Step 1. Boil the Milk
- Pour the milk into a heavy bottomed pan and place it on medium flame.
- Let the milk come to a rolling boil while stirring occasionally.
Step 2. Add Acid
- As the milk starts boiling, turn off the flame and remove from heat.
- Add lemon juice or vinegar. Stir gently for a minute.
Step 3. Curdling
- Keep the pan aside undisturbed for 5 minutes.
- The milk will start curdling as clear whey separates from the curds.
Step 4. Strain the Curds
- Place a fine mesh strainer or cheesecloth over a bowl.
- Gently pour the curdled milk into the strainer.
- Let whey drain out completely while retaining the curds.
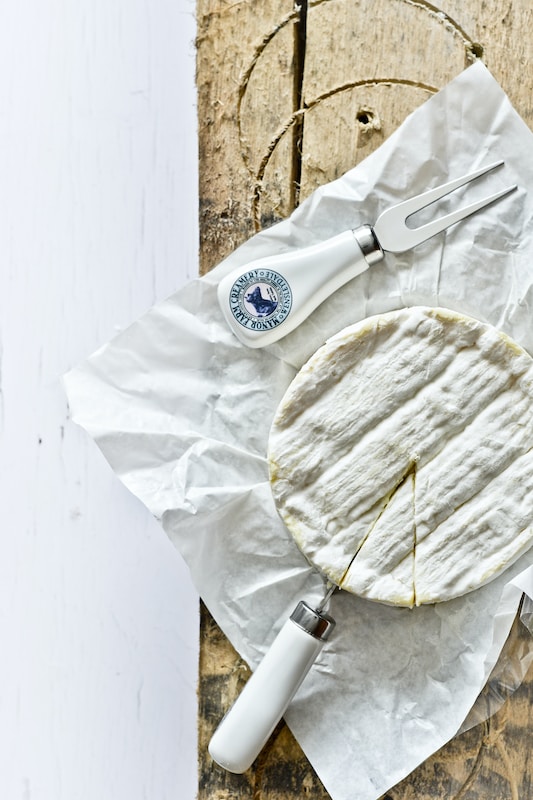
Step 5. Rinse the Paneer
- Run cold water over the curds for a minute.
- This helps wash off the excess lemon taste.
Step 6. Pan Pressing
- Place the cheesecloth with curds on a flat pan.
- Put a heavy object like saucepan on top and press down firmly for 10-15 minutes.
Step 7. Cut the Paneer
- Unwrap the pressed paneer block and cut into desired shapes and sizes.
- Your fresh, soft homemade paneer is ready to add to recipes!
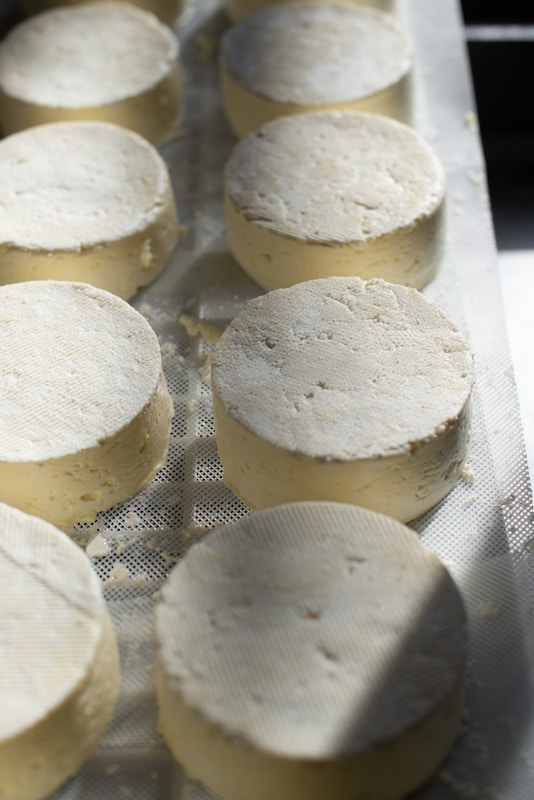
That’s it! With just 7 easy steps you can enjoy freshly made paneer within 30 minutes.
Tips for Best Results
Follow these tips to craft soft, creamy homemade paneer:
- Use good quality full fat milk, preferably organic
- Ensure the milk comes to a rolling boil before adding acid
- Add lemon juice gradually till the milk curdles well
- Press with heavy weight for longer to squeeze out more whey
- Chill paneer blocks for 30 mins before cooking for firmer texture
- Store in airtight box lined with paper towels and consume within 2 days
Experiment with the curdling time, pressing weight and chilling duration to achieve your preferred paneer texture.
Flavor Variations
Jazz up plain homemade paneer with these easy add-ins:
- Mint Paneer – Add 10-15 mint leaves while boiling milk
- Chilli Paneer – Mix in 1 minced green chilli before curdling
- Garlic Paneer – Add 2 crushed garlic cloves with lemon juice
- Herbed Paneer – Mix in 1 tsp dry oregano, basil and thyme
- Kasuri Methi Paneer – Add 1 tbsp kasuri methi right before curdling
Infuse your homemade paneer with herbs, spices and aromatics by steeping them in hot milk for enhanced flavor.
Uses for Homemade Paneer
Your fresh homemade paneer can be used to make various delicious Indian preparations:
- Paneer Butter Masala – Everyone’s favorite! Rich, creamy and delicious.
- Palak Paneer – Nutritious and flavorful blend of paneer with spinach.
- Kadai Paneer – Spicy and tempting paneer gravy dish.
- Matar Paneer – Comforting homestyle dish with peas and paneer.
- Paneer Tikka – Juicy, grilled paneer skewers brightened with spices.
- Paneer Biryani – Aromatic paneer layered with rice and masala.
- Paneer Paratha Rolls – Crispy stuffed flatbreads for a quick snack or meal.
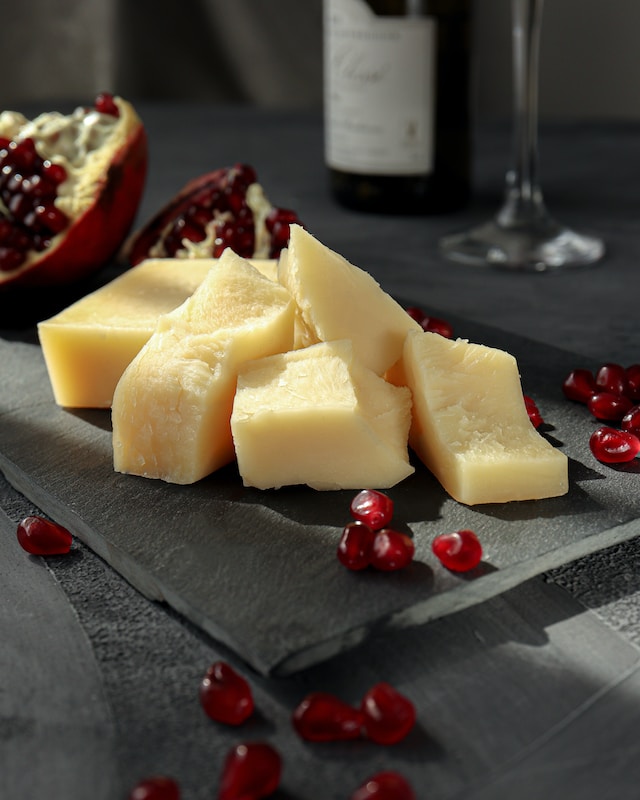
Homemade paneer shines in both curries and snacks when its fresh taste and soft bite really stand out.
Storing and Freezing Homemade Paneer
- Fresh paneer stays good for 2 days refrigerated in an airtight box.
- For longer storage, freeze paneer blocks in an airtight bag for up to 1 month.
- Frozen paneer may crumble more easily, so thaw before cooking and handle gently.
- Refreeze paneer only if made from pasteurized milk and thawed paneer is used immediately.
With some simple planning, you can enjoy fresh homemade paneer anytime with minimal effort.
Why Make Your Own Paneer?
Hopefully these tips have inspired you to DIY your own paneer instead of buying readymade. Here’s a quick recap of the benefits:
Natural and fresh – No preservatives or artificial additives
Cost effective – Much cheaper than store-bought paneer
Customizable – Adjust spice flavors and texture as you like
Premium quality – Greater control over ingredients used
Versatile – Use in Indian curries, snacks, sides and more
Satisfaction – Rewarding to craft it from scratch
Pure and hygienic – Avoid contamination risks of unknown origin
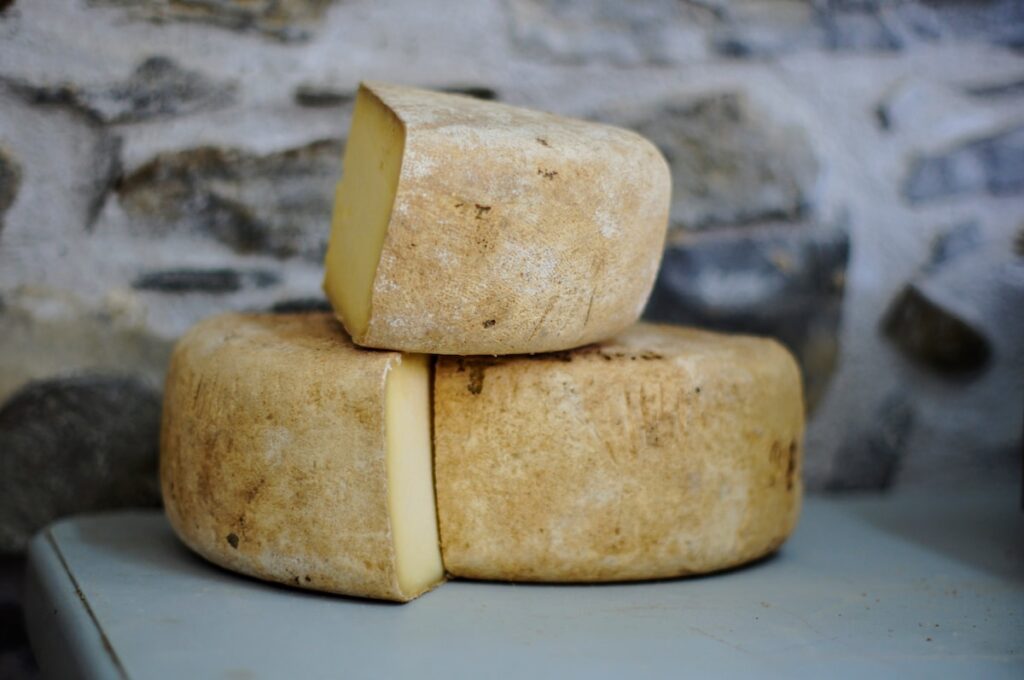
When good milk is available, making paneer at home ensures you get the real deal – fresh, soft and brimming with flavor.
Conclusion
Making paneer at home is incredibly easy, requiring just two ingredients and basic technique. With a 30 minute recipe, you can whip up fresh, wholesome paneer bursting with authentic taste.
Use organic full fat milk, proper curdling, thorough pressing and ensure fresh consumption for best results. Feel free to customize paneer with spices, herbs and aromatics.
Add your fresh homemade paneer to curries, parathas, biryanis and other Indian recipes to take them to the next level. Making and enjoying paneer together also makes for a fun cooking activity with family or friends.
So grab some good milk and lemons, follow the simple steps, and treat yourself to the wonderful taste of freshly handcrafted paneer!


