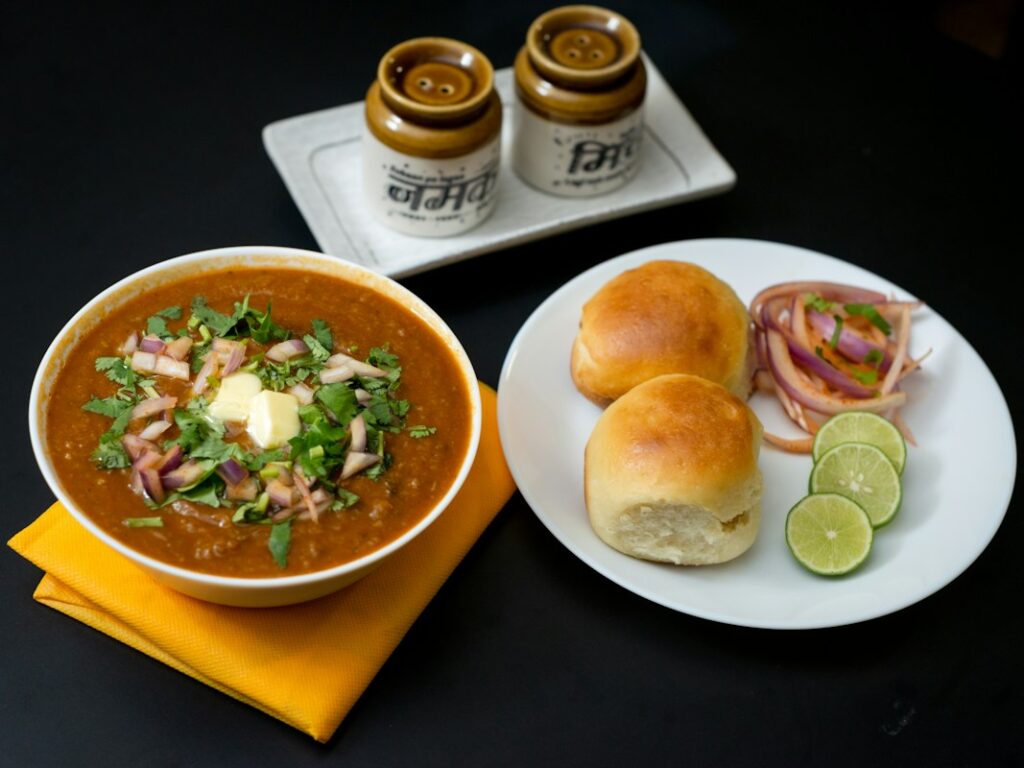
Pav Bhaji Recipe: Pav bhaji is one of India’s most beloved street foods. The aromatic, flavorful mashed veggie preparation paired with soft toasted pav makes for an unbeatable combo!
In this simple recipe guide, let’s explore how to make restaurant-style pav bhaji at home with ease.
Ingredients Needed for Pav Bhaji Recipe
To serve 4 people, you will need:
For bhaji:
- 3 medium-sized potatoes
- 1 cup green peas (fresh or frozen)
- 1 medium tomato
- 1 medium onion
- 2-3 green chilies
- 1 cup cauliflower florets
- 1 small carrot
- 1 tsp ginger-garlic paste
- 2 tbsp butter
- 1 tsp cumin seeds
- 1 bay leaf
- 1 tsp Pav Bhaji masala powder
- 1 tbsp coriander powder
- 1 tsp garam masala
- 1/2 tsp turmeric powder
- 1 tsp Kashmiri red chili powder
- 1 tsp amchoor powder
- Salt to taste
- 2 tbsp finely chopped cilantro
- Juice of 1 lemon
For pav:
- 6-8 small pav or dinner rolls
- 2 tbsp butter
That’s all we need to create this flavor fiesta! Let’s get cooking.
Step-by-Step Recipe
Preparation
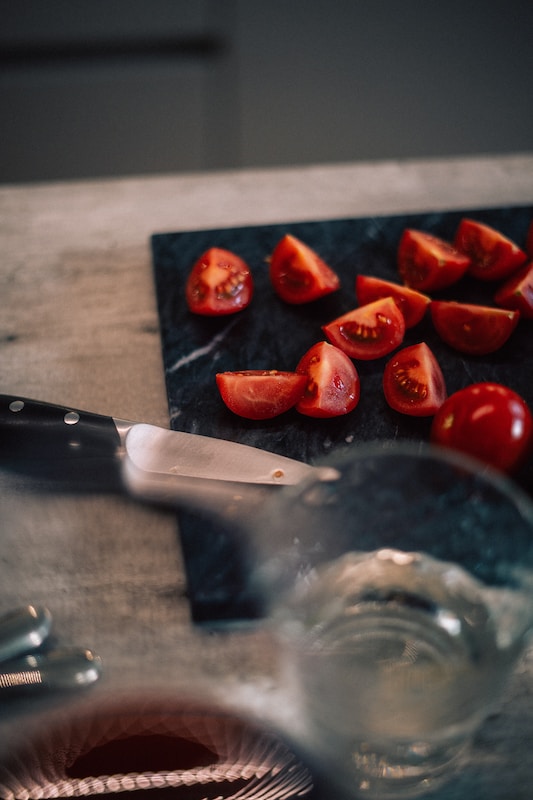
- Wash and peel the potatoes, carrot and tomato. Chop into small cubes.
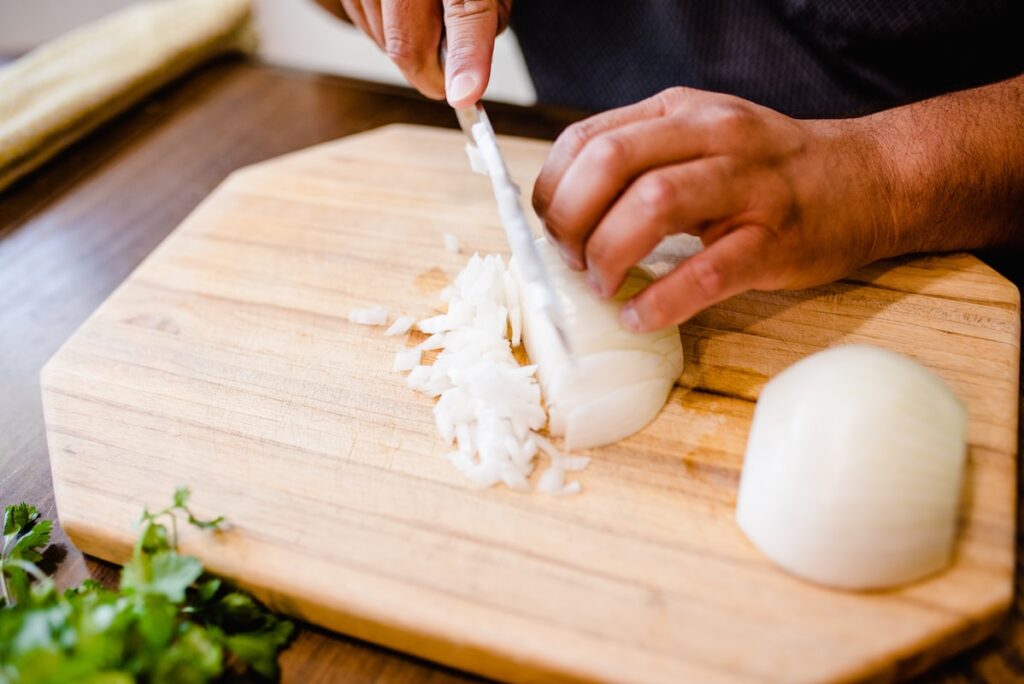
- Finely chop the onion.
- Roughly chop the cauliflower into bite-sized florets.
- Slit the green chiles lengthwise.
- Grate the ginger and garlic into a paste.
- Heat 1 tbsp oil in a pan. Add cumin seeds and let them splutter.
- Add bay leaf and green chiles. Saute for 10 seconds.
Cooking the Veggies
- To the tempering, add the chopped onion first. Fry on medium flame till they turn translucent.
- Next add the tomato cubes. Cook till tomatoes turn soft and mushy.
- Add the carrot, cauliflower and peas. Saute for 2 minutes.
- Add the ginger-garlic paste. Fry for 30 seconds till the raw aroma goes away.
- Add turmeric powder, coriander powder, Pav Bhaji masala and garam masala.
- Sprinkle some salt and mix well. Cook for 1 minute.
- Add the potato cubes now. Mix everything well.
- Pour 1 cup water and cover the pan. Cook for 8-10 minutes on medium flame till veggies are tender.
- Turn off the flame and allow the bhaji to rest covered for 5 minutes.
Making the Bhaji
- Uncover and place the cooked veggie mix in a blender jar.
- Add 2 tbsp butter and blend to a smooth, thick paste. Don’t add water.
- Pour the blended bhaji into the same pan. Place on flame and bring to a boil.
- Add red chili powder and amchoor powder. Simmer for 2 minutes.
- Finish with lemon juice and chopped cilantro. Mix well.
- Garnish with more butter, cilantro and a dash of lemon juice.
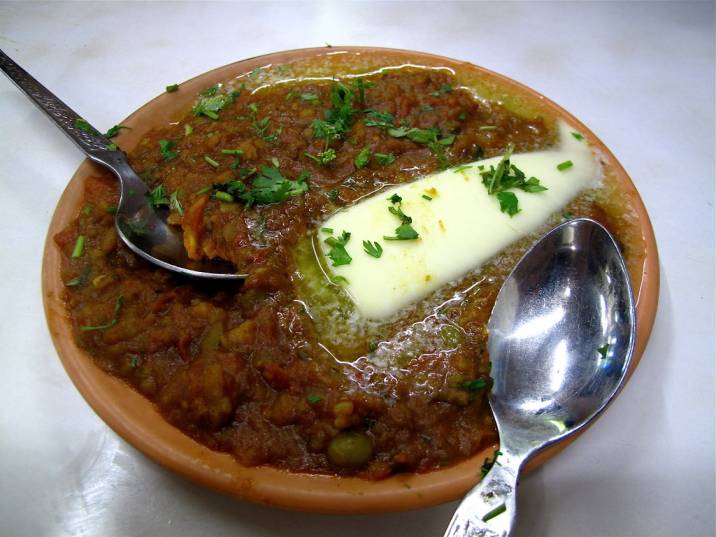
Your delicious Mumbai style pav bhaji is ready!
Preparing the Pav
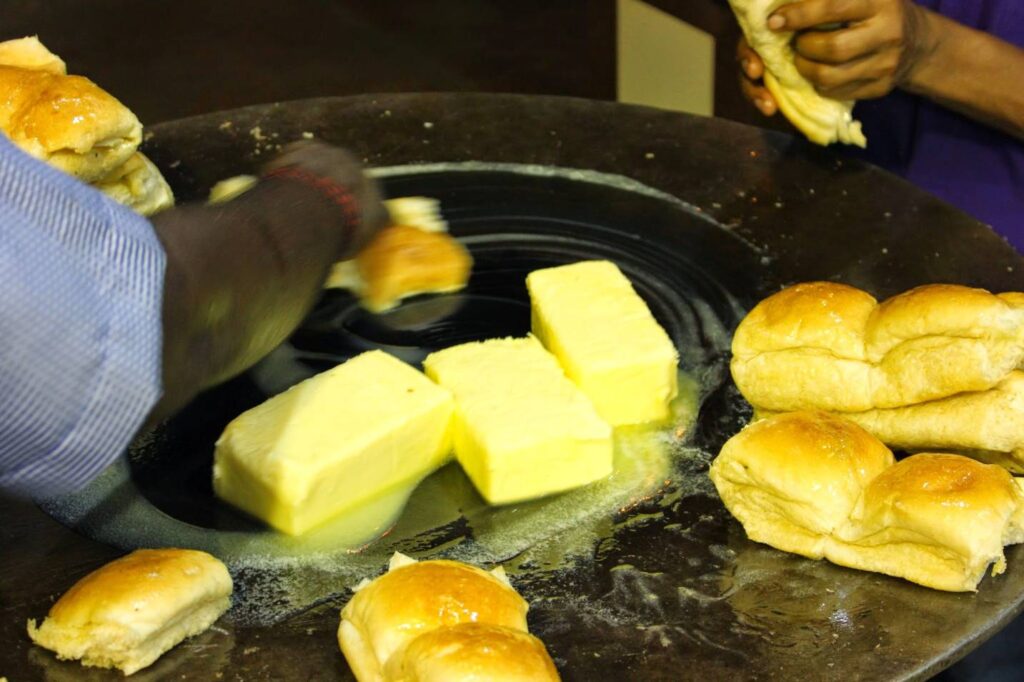
- Generously apply butter on one side of each pav.
- Lightly toast the buttered side on a hot tawa or grill pan.
- Serve the garma-garam crispy pav immediately with the piping hot bhaji.
Dig into this ultimate comfort meal and enjoy every bite!
Tips and Variations
- For a spicier bhaji, use an extra green chili.
- Cube and blitz a boiled beetroot for natural color and sweetness.
- For Jain pav bhaji, skip onion and garlic. Use veggie stock.
- Add veggies like capsicum, beans and paneer for extra crunch.
- For Mumbai roadside style, top it with a generous pat of butter!
- Stir in some milk or cream before blending for a creamy, rich gravy.
- Grate some processed cheese on top for extra indulgence.
- Accompany with fried green chilies, onion rings and lemon wedges.
- For fusion twist, serve the bhaji with mini burger buns instead of pav.
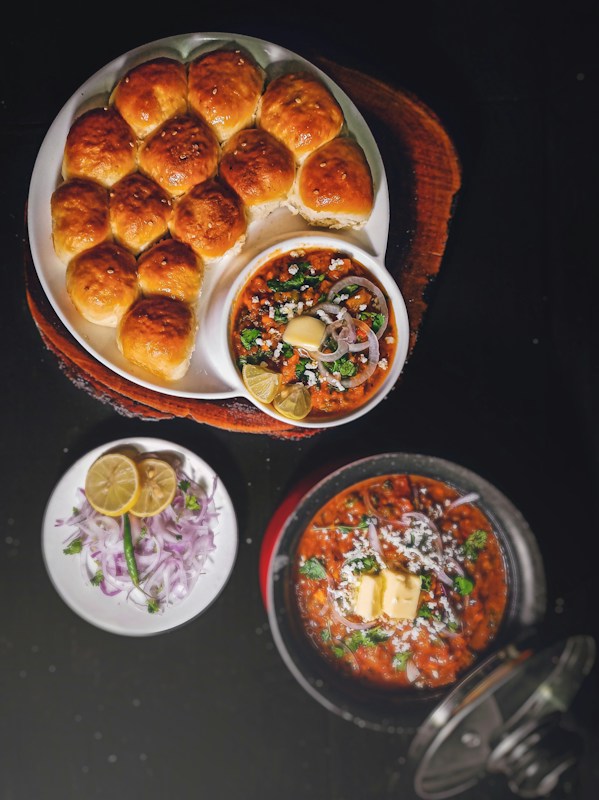
The basic pav bhaji recipe can be tweaked easily in many ways to suit individual tastes and dietary needs. Feel free to experiment and make this street classic your own!
Serving Suggestions
Pav bhaji makes for a satisfying meal any time of day. Here are some ways you can serve it:
- For breakfast – Top with a fried egg along with mint chutney
- For lunch/dinner – Pair with onion salad and roasted papad
- For evening snack – Serve with chilled beverage of choice
- For potluck – Prepare mini pav bhaji sliders or tacos
- For kids – Shape into smiley faces or other fun shapes
However you decide to present it, pav bhaji always brings a smile to everyone’s face. It’s the ultimate crowd-pleaser!
Storage and Reheating
To store:
- Allow bhaji to cool completely and store in airtight container in the fridge.
- It stays well for 2-3 days.
- To freeze – Transfer bhaji to ziplock bag or airtight box. It keeps frozen for 2-3 weeks.
To reheat:
- Place the bhaji in a pan with a splash of water.
- Cover and simmer on low heat for 4-5 minutes till warmed through.
- Adjust consistency by adding a bit of milk or water as needed.
- Garnish with cilantro and serve hot with toasted pav.
The Origins of Pav Bhaji
The story of pav bhaji’s origins is an interesting one. It was created in the 19th century as an affordable meal option for mill workers in Mumbai. The combination of bread and spiced vegetables made for quick, filling fare.
Over the decades, it evolved with regional influences into the pav bhaji we know and love today. From a humble street food, it has found a place in restaurant menus and homes across India.
The classic Mumbai style Pav Bhaji uses a special blend of spices and has a unique technique of mashing and blending the vegetables into a thick, rich gravy. It reflects the traditional culinary wisdom and flavors of Western India.
This nostalgic dish holds a special place for Mumbaikars. Its aromatic smoky aroma and burst of spices never fails to delight eaters across age groups and cultures.
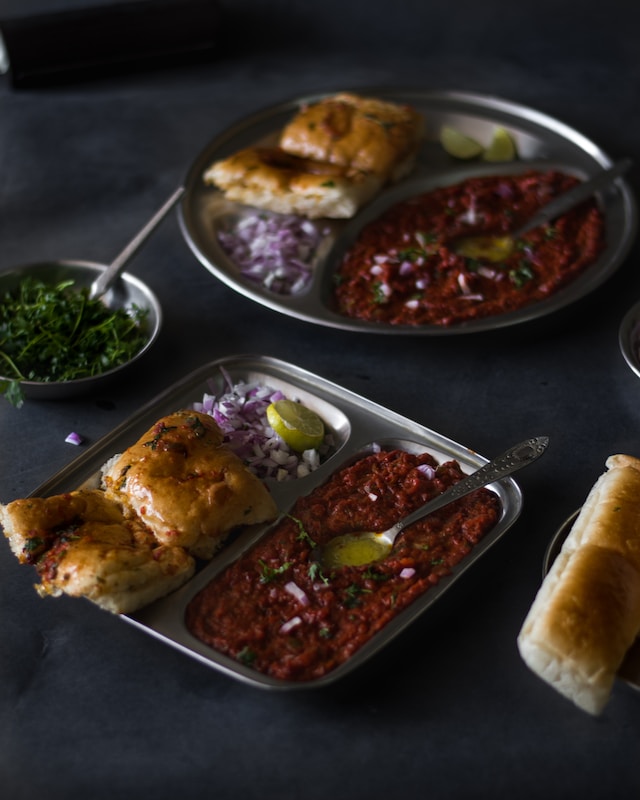
Why Make Pav Bhaji at Home?
Here are some good reasons to make pav bhaji in your own kitchen:
- Customize – Tweak the recipe to suit your spice preferences
- Hygienic – Make it under clean, sanitary conditions
- Control ingredients – Monitor fat, salt and spice levels
- Experiment – Try fun variations and fusion versions
- Impress guests – Serve it as a tasty appetizer for parties
- Bond with kids – Cook together as a fun family activity
- Save money – Much cheaper than restaurant rates
Once you get the basic masala right, the possibilities are endless. Pav bhaji is also quite easy to put together with readily available ingredients.
Final Tips for Success
Follow these tips for sure shot success:
- Use juicy, well-cooked veggies for flavorful bhaji
- Ensure the onions are sauteed golden brown
- Don’t skip the resting time for bhaji after cooking
- Blend to smooth, spreadable consistency without adding water
- Finish with a lip-smacking tadka of lemon and cilantro
- Toast the pav just before serving
- Enjoy pav bhaji at its best – steaming hot!
Now go ahead, put on your apron and treat yourself to the beloved tastes of India’s favorite street food. Your very own Mumbai pav bhaji awaits!


